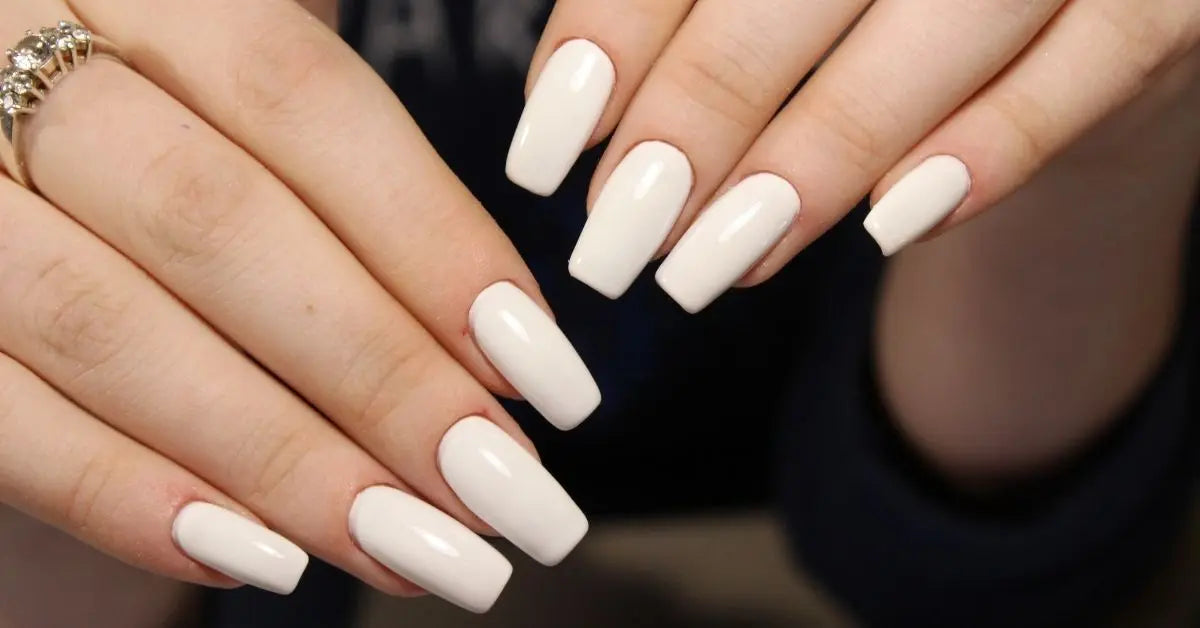
Among the most popular nail art in recent times there is undoubtedly the Baby Boomer: with unique elegance and undeniable versatility, this type of nail art is simple and perfect for any type of look.
Baby Boomer nails are also chosen for ceremonies, precisely because they are elegant and truly beautiful nails from an aesthetic point of view. It is an alternative version of the classic white French.
Do you want to find out how to make it in a few minutes, without smudging and without the use of a UV lamp thanks to the Dip Powder technique? Excellent, then we can only advise you to continue reading our article, because we are also about to explain the individual steps to be able to carry it out on your own nails, or on those of your clients. We therefore wish you a good read of our article!
Baby Boomer Nails: origins of the name
No one really knows why the design was called "baby boomer". But there's a compelling theory from nail artist Bethel Coleman. During the demographic boom period of the 60s, the colors most used by women were Red, Baby Pink and White, precisely because these colors were super popular during the economic boom period it was decided to give the technique this name.
Although this nail art is whimsical, because it mixes two colors, it is still delicate and elegant, precisely thanks to the colors used.

What does the Baby Boomer technique consist of?
The Baby Boomer technique can be imagined there as a real alternative and innovative variant of the French manicure, which consists in the application of a strip of color on the apex of the nail.
In this case, a shade with different shades will be applied on the upper part of the nail, usually always in the colors of white and pink to cover the surface.
The final effect will be truly fascinating and elegant: this is therefore also perfect for weddings or special occasions, although it is also ideal in everyday life if you want a polite and delicate effect.

How to do Baby Boomer nails with Dip Powder?
Creating Baby Boomer-effect nails with Dip Powder is simple, quick and long-lasting. Acrylic powders make applying color much easier because they don't smudge and don't need a UV lamp to dry.
But let's see step by step how to create this manicure:
- we file the nails and carefully remove the cuticles
- we pass the base liquid
- we dip the nail in the base powder
- we pass the base liquid again only on the end of the nail
- we dip the nail in the light color
- we pass the base liquid over the entire nail
- we dust the nail with pink until we obtain the desired effect
- we pass the activator
- we apply the top coat
Using this technique, in fact, what you need to do is apply a thin layer of the Dip Power base, in order to create the structure and light color of the lower part of the nail.
Then you will need to apply the pink Dip Power over the entire nail, based on your personal preferences. In most cases, you opt for a natural color similar to that of your own nail; in this way, the regrowth will also be less visible and the nail art will last longer without appearing old.
To avoid mistakes you can follow the video below.
Where to find the best Dip Powders on the market
What makes the difference in the success of your Baby Boomer is also the quality of the products you decide to use for the creation.
Quality products will also make a difference to the duration of the manicure, not causing lifting or visible signs of wear on the nail.
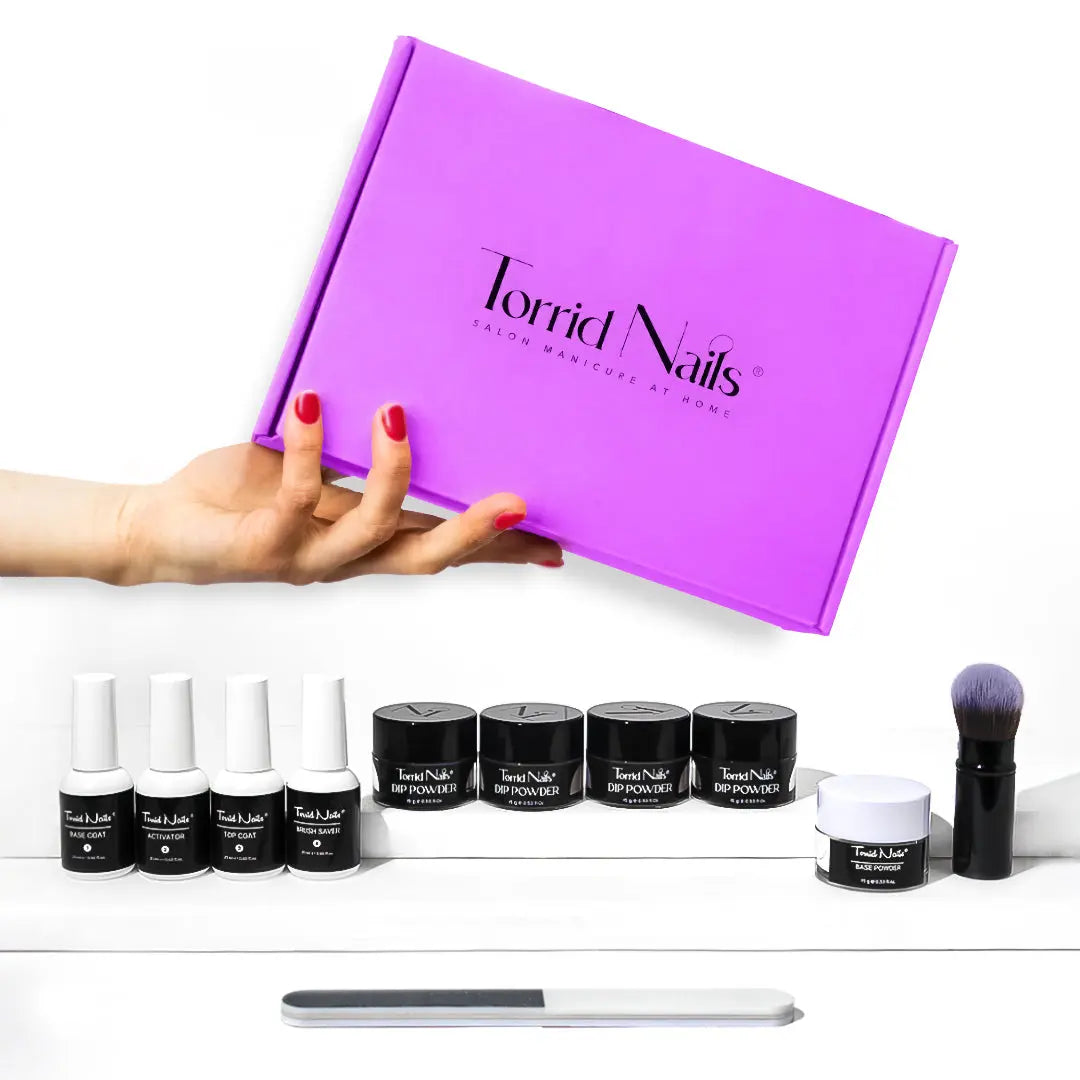
Among the best products we can recommend for carrying out the Torrid Nails Baby Boomer Kit technique.
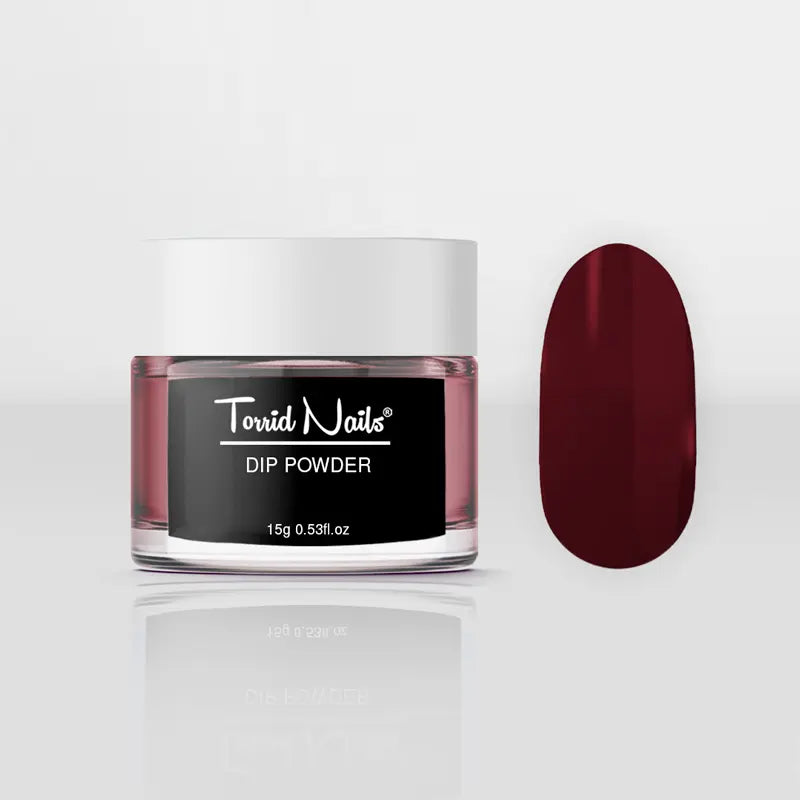
The Torrid Nails Dip Powder Kit is among the best you can find on the market: they are simple to apply, long-lasting and professional, but also perfect for everyone those who are new to applying acrylic.
The Baby Boomer can also be made with colours, again with Dip Powder, in order to make it with colors other than the traditional white and pink.
In this case, the procedure will be slightly different and the main advice we can give you is to find the best way, most suited to your preferences, to blend the colour, precisely because, being more intense, they could easily result in two patches of color.
In any case, whatever the procedure, with good training the result will undoubtedly be impeccable.
Perfect Baby Boomer nails: the main tips
There are numerous tips that we can provide you to create a perfect Baby Boomer from every point of view, however many can be learned simply with practice, even by practicing on test fake nails.
What is essential for Baby Boomer nails is that there is a perfect structure, with adequate camber and without any burrs. The reason for this is very simple: with a normal and traditional nail art, some imperfections can be covered in the application of the color, while in the Baby Boomer there will only be a shade of coloring, so it could be complex to carry out if the shape of the nail was not adequate.
The secret to being able to create the Baby Boomer is also the presence of an adequate shade, and above all uniform for all the nails: it is a good idea to adequately calculate the height of the shade, to ensure that it is the same for all nail art.
To give a more slender and tapered effect to the nails, it is always a good idea to use a glossy finish, also taking advantage of the use of glitter to create real highlights. For those who want a more natural and soft effect, a matte finish could be the best choice, although this could lose elegance.
Before being able to arrive at a perfect technique, a great deal of practice is obviously required, precisely because only in this way will it be possible to best learn how to perform it without mistakes. Every correction, from this point of view, will be memorized and the error will no longer be made: once the technique has been learned as best as possible, everything will be decidedly simple and quick.


